
Today, I'm showing you my very first Pin to Present project!
Back in high school, I was a member of the theater group and I worked behind the scene for 4 years... some of the best years of my life (so far). I learned a lot about working with heavy duty tools, and I absolutely loved the feeling of having those tools in my hands and watching scrap pieces become background sets and furniture. It's been quite a few years since that time, and until a couple of weeks ago, I haven't done any type of construction work.
A few weeks ago, I decided I needed a change. I needed to feel like myself again. This is part of the reason I created this blog, so I can write down my thoughts and do the things I love. So I decided to do this project. I loved the idea of having a 3-D piece of art, something I can make with my two hands and it didn't involve paints or pencils... (because my drawing and painting skills flat out suck! haha).
So here it is:
I asked my friend for his tools, knowledge, and some material. I found this beautiful piece of scrap wood in his garage. I sanded it down and stained it. Make sure to sand and stain the sides to give it a smooth look.

While working, I saw this smiling face ;) The cans that held the different stains spilled and created the smirk and I thought it was pretty awesome!

Next I got some one and a half inch nails from Home Depot. They had a dark color, which I think fit the design I wanted a lot better than shiny silver nails. I used cardboard to draw the heart, cut out the shape and started hammering the nails in around the cutout. (I really wish I had taken more pictures to show what that looked like... sorry I don't have more!!)

The next step is the most therapeutic part. I tied a knot around one of the nails and just started moving the yarn from one nail to the next.

The only thing I had to worry about is to not repeat string directions
and to protect the design of the top part of the heart so I only filled
the inside of the outline with the red yarn.

And TA DA!!
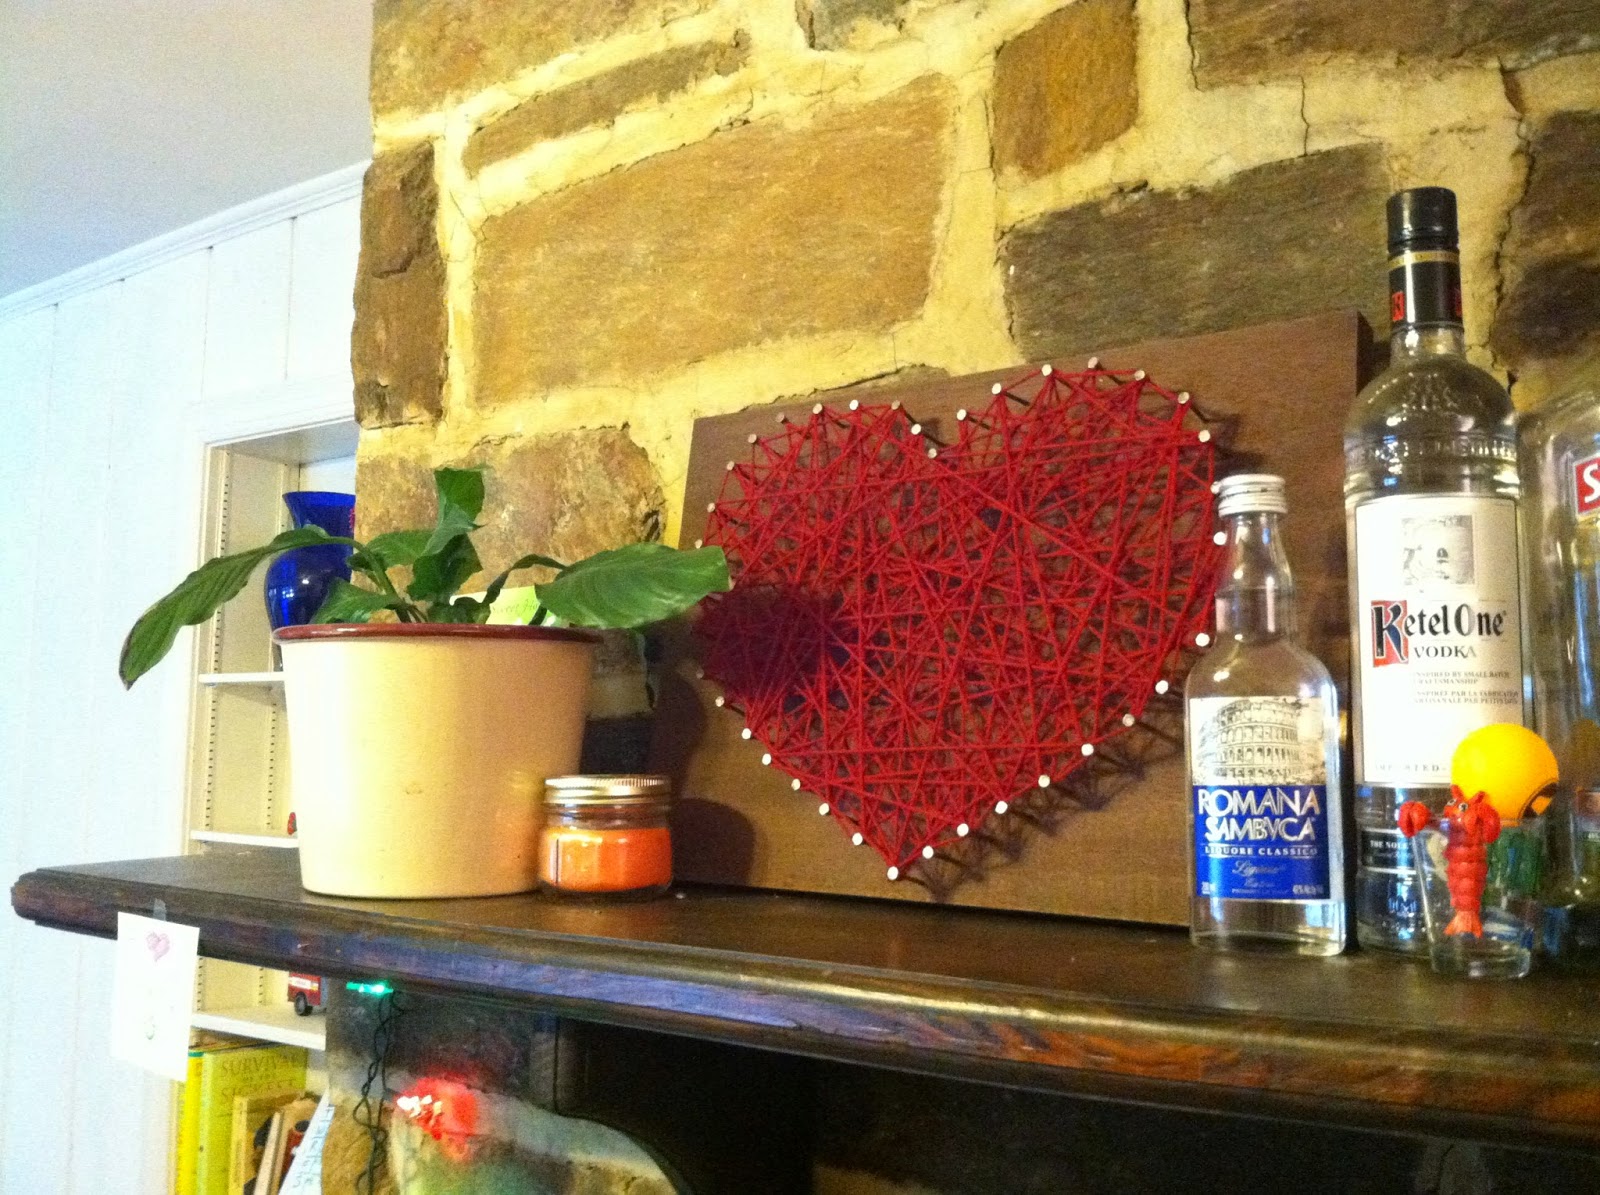
It
now sits in my living room above the non-functioning fireplace. I love
love LOVE it!! And I'm so proud of it. Thank you Pinterest for the
inspiration! Linking up with Anne in her Pin to Present post...
Roxi
You are so crafty! Love the final product, and it looks amazing at your fireplace!
ReplyDelete-Tatiana
We Shop in Heels
Thank you so much Tatiana!
DeleteThis looks great. I need to try more of the crafts on Pinterest.
ReplyDeleteThis one was pretty easy! If working with the wood is too difficult, you can totally find prepared slaps at Home Depot and start at the staining process. Thanks for stopping by!
DeleteWow, I love it! Such a great piece to have for decor, but it seems like it would be such a good project too - the string wrapping seems like it would just be a relaxing thing to do :) Thanks for linking up!
ReplyDeleteThanks Anne! It absolutely was relaxing... at the end haha! At the beginning, I was quite nervous that this project was going to be a Pinterest fail...
DeleteSo cool! Great idea!
ReplyDeleteThanks Maria!
Delete